The step by step process of building an outside dining room and barbeque.
We assessed potential locations for the outside dining room & barbecue two were available and in the end the choice was made to locate the room at the end of the garden facing the house and the views to the west.
Due to planning restrictions we had to liaise with the council planning and fiscal departments. Although formal plans of the outside dining room & barbecue were not required we did use the services and contacts of an architect to help us present the proposed structure to the council.
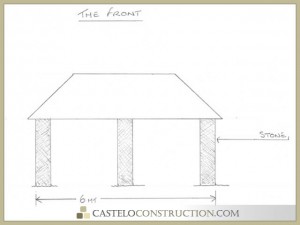
The architect spoke to the camera and they had no objections if we used wooden pillars to support the roof.
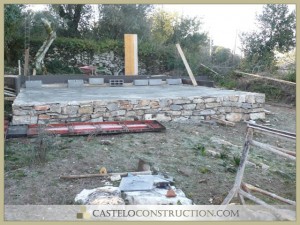
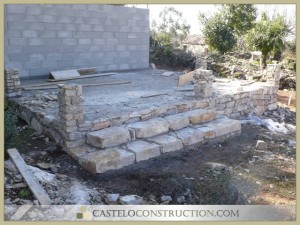
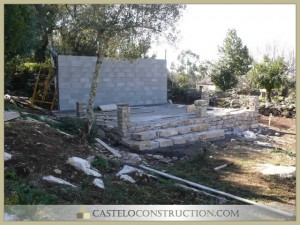
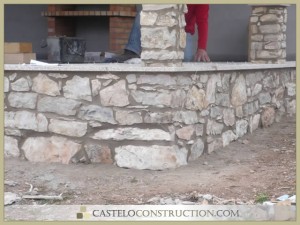
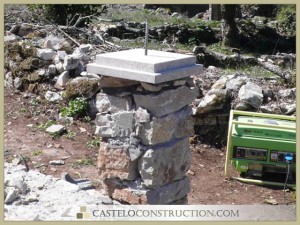
The base was built from local stone so that it married into the surroundings and the house. Due to the two way slope in the ground it was decided to build steps up to the floor area. These were built from stone door frames recycled from an ancient house that we had demolished a couple of months earlier. They complimented the rustic style of the outside dining room & barbecue and suite the purpose well.
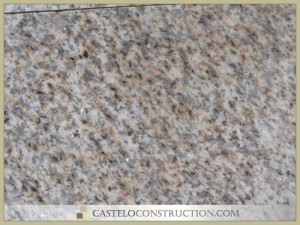
Projects like this develop best with a little flexibility in the final design and a good choice of materials. Originally nonslip ceramic tiles were chosen to cover the floor. After discussing using local granite to form an edge around the floor it was decided to use the same granite in tile thickness to cover the floor as this is naturally non slip and helps the connect the colour or the timber, wall and floor.
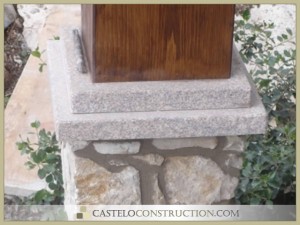
On top of the rustic stone pillars we placed pad stones in granite. The same colour as the floor and floor edging. This is to stop water penetration into the pillars and so that the colour of the stones marry together.
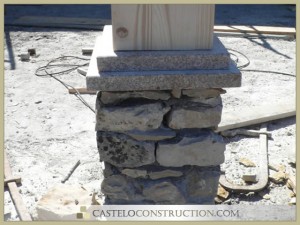
The following photographs show the craftsmanship and care that we put into into making something like this outside dining room & barbecue . We could have used unsightly galvanized bolts and heavy iron brackets to hold things together but instead we prefer to use traditional carpentry skills and craftsmanship rather than cut corners.
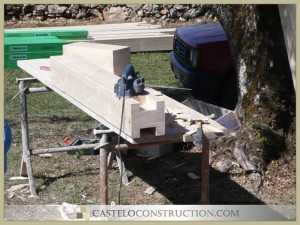
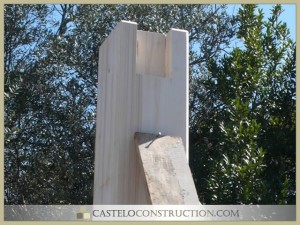
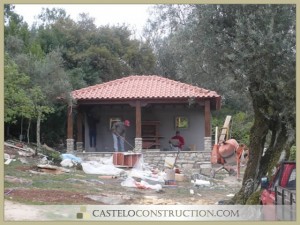
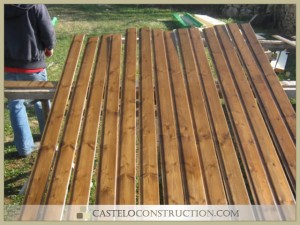
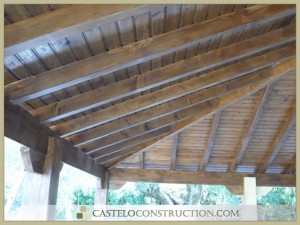
Each piece of kiln dried Scandinavian pine is cut and chamfered by hand. The chamfer stops the wood treatment from peeling off at the edges of the wood and is a more pleasing to the eye. The tops of the pillars are jointed to the roof support beams so that everything becomes a strong single unit for the roof to sit on.
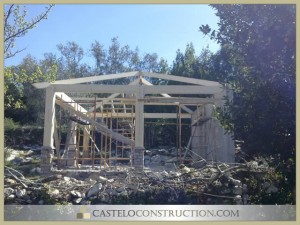
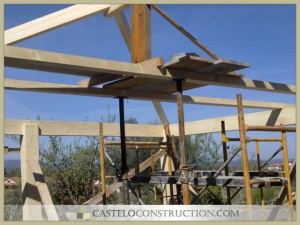
The colour of wood treatment was selected from an extensive range of colours “Macassar” by Bondex.
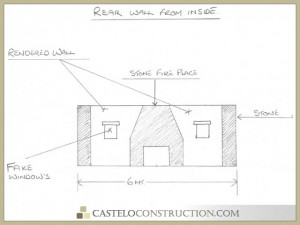
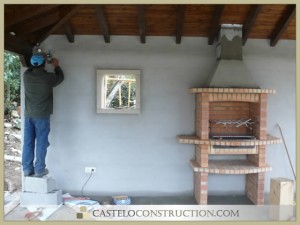
Two window niches (same size as those used on the house windows) will be cut into the back wall of the outside dining room & barbecue and surrounded in the same unpolished granite stone as the floor.
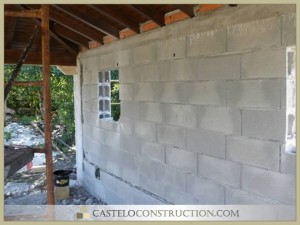
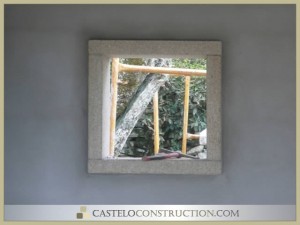
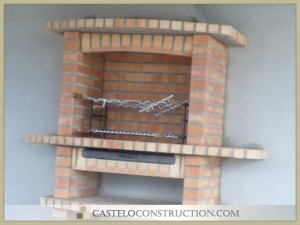
The wall will be rendered and painted and a purpose made curved barbeque installed with chimney going through the roof.
The roof is tiled in traditional half round tiles and is insulated to prevent heat build up in the summer. Un-insulated tiled roofs can act as a heat reservoir making the space under the roof hot.
Originally nonslip tiles were chosen for the floor but it was later thought extending the unpolished granite colour by using thin cut granite as tiles would create a better look.
The “Alpendre” outside dining area is starting to come together. Lighting is installed and power sockets.
The rustic stone walls are pointed the final stages of grouting the floor, painting the wall inside and out and of course the final clean up.

